构建 Vim 和 YCM
Vim 不知不觉已经到迭代到了 9.0 版本了,回顾昨天我还在用 vim 6.0

构建vim
$ git clone https://github.com/vim/vim --depth 1
$ sudo apt install python3-dev universal-ctags  \
        exuberant-ctags libperl-dev \
        liblua5.3-dev libpcre3-dev libncurses-dev
$ cd vim;
$ ./configure --prefix=/home/ihexon/vim_bin \
    --enable-cscope    --enable-terminal    \
    --enable-multibyte  --enable-autoservername \
    --enable-python3interp=yes  --enable-perlinterp=yes \
    --enable-luainterp=yes
有关构建 Vim 的更多细节可以在 src/INSTALL* 中找到。
Vim 的源码组织和文档结构给我的感觉就是,它真的是 Unix生态中的活化石…. 当你进到 READMEdir,发现这里有一堆平套相关的 README:
Contents         README_ami.txt       README_amibin.txt.info  README_bindos.txt  README_haiku.txt  README_os2.txt    README_srcdos.txt  README_w32s.txt  runtime.info
Contents.info    README_ami.txt.info  README_amisrc.txt       README_dos.txt     README_mac.txt    README_os390.txt  README_unix.txt    Vim.info         src.info
README.txt.info  README_amibin.txt    README_amisrc.txt.info  README_extra.txt   README_ole.txt    README_src.txt    README_vms.txt     Xxd.info         vimdir.info
随便打开某个平台相关的 README 比如 README_ami.txt 看看:
README_ami.txt for version 9.0 of Vim: Vi IMproved.

This file explains the installation of Vim on Amiga systems.
See README.txt for general information about Vim.
嗯,Amiga systems 是什么系统,怎么之前没听说?搜索一下看看:

这是我爷…
Vim 配置
$ rm -rf ~/.vim

$ curl -fLo ~/.vim/autoload/plug.vim \
    --create-dirs  \
    https://raw.githubusercontent.com/junegunn/vim-plug/master/plug.vim
~/.vim/vimrc 下的插件配置:
execute 'source' fnamemodify(expand('<sfile>'), ':h').'/init.vim'
let g:ycm_use_clangd = 1


call plug#begin()
  Plug 'dracula/vim'
  Plug 'ycm-core/YouCompleteMe', { 'dir': '~/YouCompleteMe', 'do': 'git submodule update --init --recursive' }
  Plug 'andymass/vim-matchup'
  Plug 'preservim/tagbar'
        Plug 'preservim/nerdtree'
        Plug 'mhinz/vim-grepper', { 'on': ['Grepper', '<plug>(GrepperOperator)'] }
call plug#end()

colorscheme dracula

" let g:ycm_clangd_binary_path = '/data/local/tmp/gentoo/usr/lib/llvm/17/bin/clangd'

let g:ycm_clangd_uses_ycmd_caching = 1
let ycm_min_num_identifier_candidate_chars = 4
let g:ycm_auto_trigger = 1

let g:ycm_enable_semantic_highlighting=1
let g:ycm_server_log_level = 'debug'
" let g:ycm_global_ycm_extra_conf = '/data/local/tmp/gentoo/home/.vim/ycm_extra_conf.py'
let g:ycm_add_preview_to_completeopt = 1
let g:ycm_autoclose_preview_window_after_insertion = 1
let g:ycm_autoclose_preview_window_after_completion = 1
let g:ycm_goto_buffer_command = 'split'

exe 'hi MatchParen ctermbg=blue guibg=lightblue cterm=italic gui=italic'
Vim 加载 .vim/vimrc 后使用 :PlugInstall 安装插件,注意 YCM 的源码被拉取到了 ~/YouCompleteMe 下。接下来构建 YCM。
构建 YCM
$ cd /home/ihexon/YouCompleteMe
$ ./install.py --clangd-completer
clangd 会被自动下载到 ./third_party/ycmd/third_party/clangd/output/bin/clangd 下。实际上 YCM 是 Clangd 的前端,clangd 会根据 compile_commands.json 对整个代码生成 indexs,clangd 将诊断和补全结果返回给 YCMD,呈现给 Vim。
开始使用 Vim
Vim 内 Debug
VIM 9.0 版本集成了 Termdebug 这个插件(起初 Termdebug 是独立存在的),关于 Debug 的所有细节可以参考:help Termdebug 文档。

Termdebug 需要通过 :packadd termdebug 来加载到 Vim &rtp 中,通过:echo &rtp 显示:
 就可以开始 Debug 了,使用
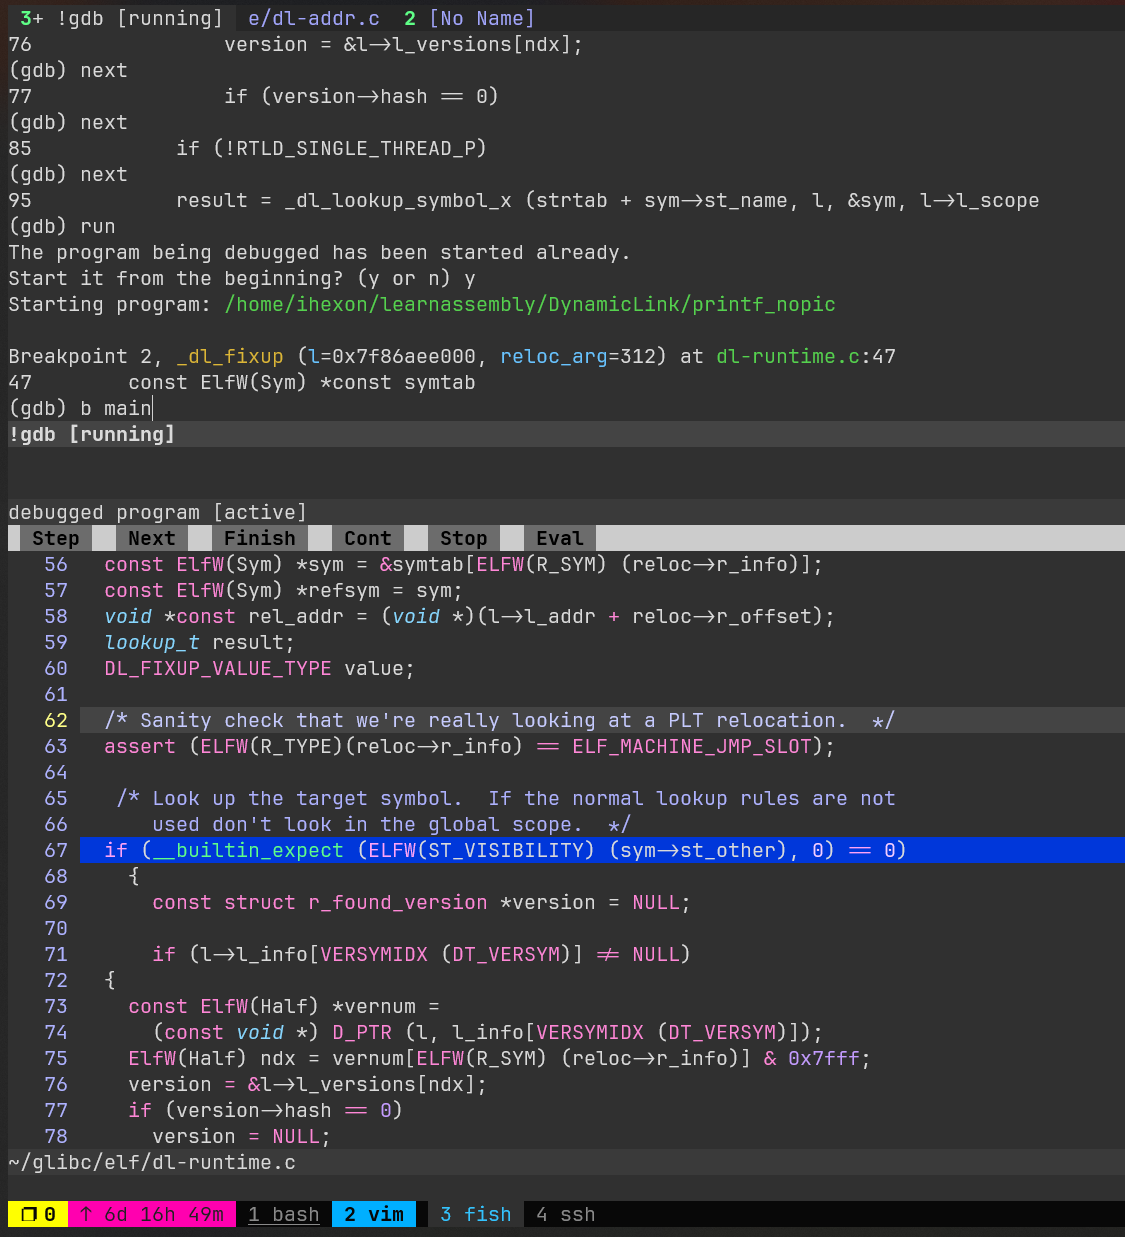
 :Termdebug 后 Vim 会分出一个 Terminal 窗口运行 GDB 调试器:

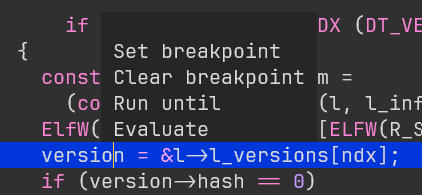
GDB Console 可以键入调试命令,vim 的文本编辑区域则会响应 GDB,另外如果启用了鼠标模式,可以右键变量名,Vim 会 popup 一个菜单,可以在当前行标记 breakpoint 或者 Eval 某个变量,方便太多了。

实际上 Vim debug 也没有那么复杂对不对?
补全
ctrl+space
快速跳转
在if,elseif,else,endfi 之前快速跳转按 %,vim 会自动判断与此光标匹配的上级的判断语句。
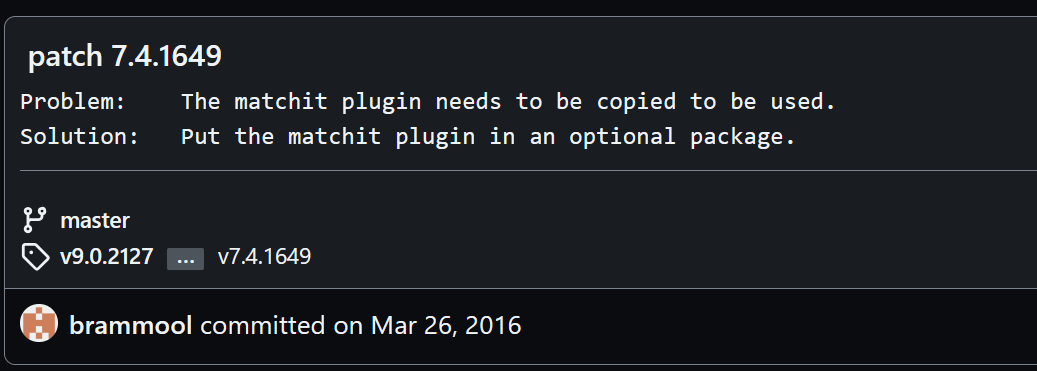
Note:matchit 已经是 Vim 7.4.1649 以及之后的内置插件,patch 可以在这里看到

更新:我的配置使用了增强版的 Matchup 插件 andymass/vim-matchup。
在 clangd 正常工作的情况下,YCM 帮助我们在函数结构体之间跳转:
:YcmCompleter GoTo 跳转到目标函数,类似的还有 GoToDeclaration,GoToInclude,GoToReferences 等。
:YcmCompleter GoToSymbol 在 indexs 中搜索 symbol。
Tagbar
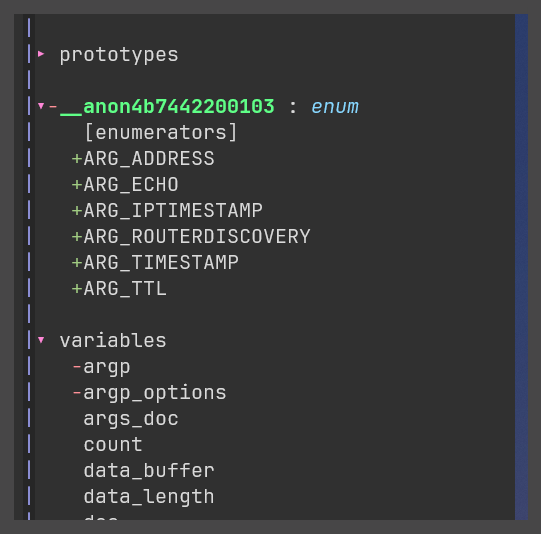
一个Outline 插件: preservim/tagbar,使用 TagbarToggle 启动:
,tagbar 现需要系统安装 universal-ctags:

内置终端
Vim内支持:term 开启一个新的终端会话,这功能非常好用,我在想是不是直接可其实可以用 Vim 来实现 tmux 一样的终端复用效果。
vim 内的 terminal 实际上是一个 buffer,使用CTRL-W N 来回到 Normal 模式,让使用 :resize +10 命令调整窗口高度